June, 2006

DVFilm Maker
www.dvfilm.com
$145.00
Review by Steve Douglas
DVFilm Maker is a unique product designed to provide the Film Look that so many are seeking when shooting with their DV cams. This provides a valuable tool for your productions at an inexpensive price. With versions for both PC and Mac, it is fully compatible with most NLE's using a QuickTime based system, which, in itself, is a benefit to most. It is nice that even owners of older model iMacs, G3s and G4s with at least 128 MB of memory may use DVFilm Maker, however, for those requiring HDV conversions, a G5 and 1 GB memory is required.
So, what exactly can DVFilm Maker do? Lots! To begin with, in order to up convert your Standard Definition footage to make it compatible with the latest HDV product on the market, you must change your interlaced footage to progressive and DVFilm Maker does just that. While the deinterlace filter in Final Cut Pro does a good job reducing vertical resolution by 50%, doing it with DVFilm Maker takes it a step further and better by analyzing motion in each individual frame and affecting the pixels only where there is movement. The results are a significantly sharper image throughout the entire clip. In still scenes this is especially noticeable.
There is almost no learning curve with DVFilm Maker as a guide manual comes up with each step that you take.
Installation is easy, just download and place it in your applications folder. Using any Final Cut Pro self contained or QuickTime clip, you need to just drag the clip into the DVFilm Maker window, which acts like any filter well you might have used, and the process guide will come up asking you to set whichever parameters you may want for the film. It is, however, suggested that you only use clips of up to 10 minutes in length at a time.
You simply drag your self-contained clip into the window and the process easily begins.
The Quick start Guide comes up immediately upon bringing upDVFilm Maker instructing you to either navigate to your desired clip or to drag it over to the window itself. I dragged, and, from there, everything was a piece of cake. A Process window then comes up and here is where your choices abound.
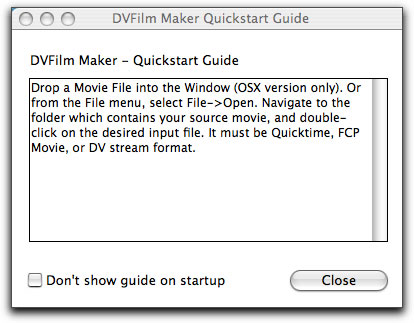
The Quickstart Guide comes on automatically.
It will also warn you if an audio track does not accompany the clip.
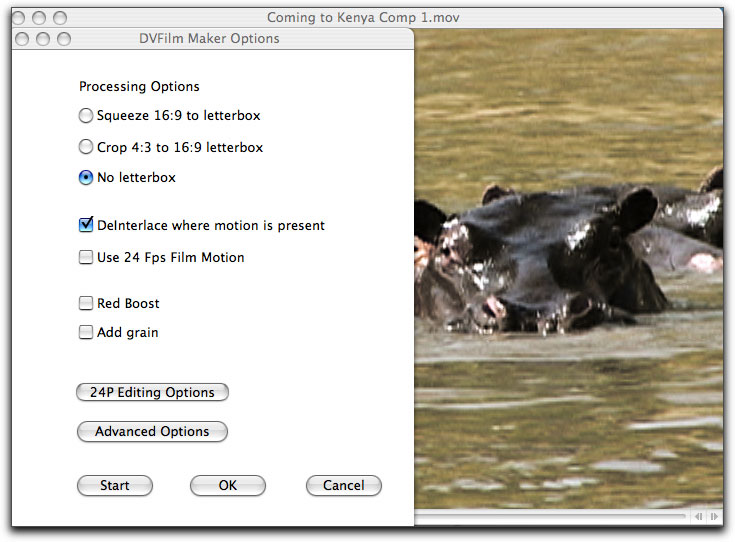
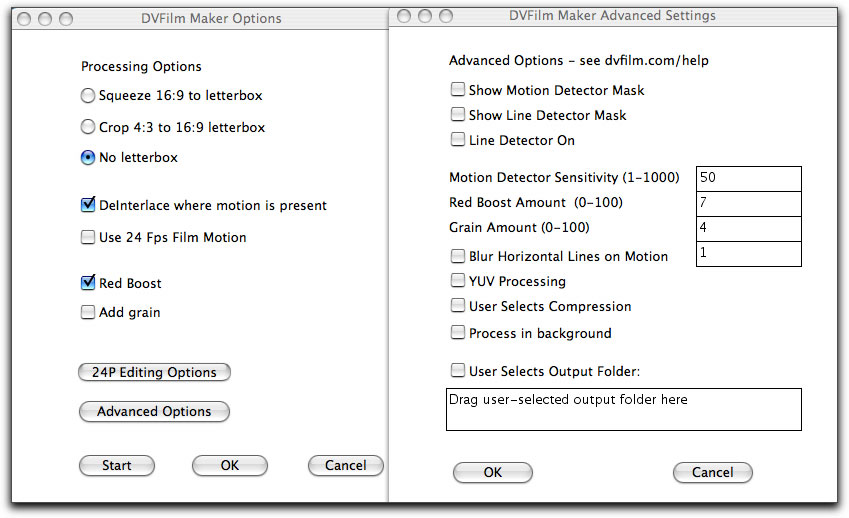
The Process window provides you with the alternative settings and options for your final output.
You can keep your 4:3 clip as is or ask DVFilm Maker to convert it to a 16x9 letterbox. The ability to convert 16:9 anamorphic to letterbox is also there. You may deinterlace as desired, as well as other features such as adding grain or using the Red Boost to create a warmer looking appearance. Then, of course, there lays the crème de la crème of DVFilm Maker, you also now have the ability to easily convert your interlaced footage, whether it be HD, HDV, or NTSC video to true 24p working either with NTSC or PAL. Maker does not really do PAL/NTSC, although you could slow down the 24P from Maker to 25P. For PAL/NTSC conversion DVFilm Maker has DVFilm Atlantis (dvfilm.com/atlantis) which will do the job.
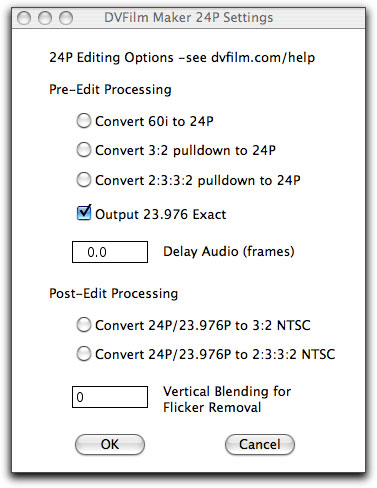
Having clicked on the 24p options,
you have even more control over the type of conversion and output.
Using the Advanced Settings function enables you to exert even greater control over your final output with more exacting manipulation of the Motion Sensitivity, Grain and Red boosts and more.
The entire process of dragging your clips over to the initial DVFilm Maker window, adjusting settings and starting the process goes very quickly, establishing a nice workflow. The folk at DV Film suggest that movies be broken up into 10 minute clips before using DVFilm Maker. This is not a limitation of the software as it can certainly handle longer clips. It is simply to encourage new users to gain familiarity with the processing before placing in an entire full length film. DV Film does recommend processing in 24p before editing rather than after. While it is their assertion that it takes about 10 minutes to process 1 minute of video, in several tests I found that it only took two minutes to process a 20 second clip and the results were excellent. The images were warmer and deeper in color with no loss of detail at all. There was a definite improvement to the entire clip.
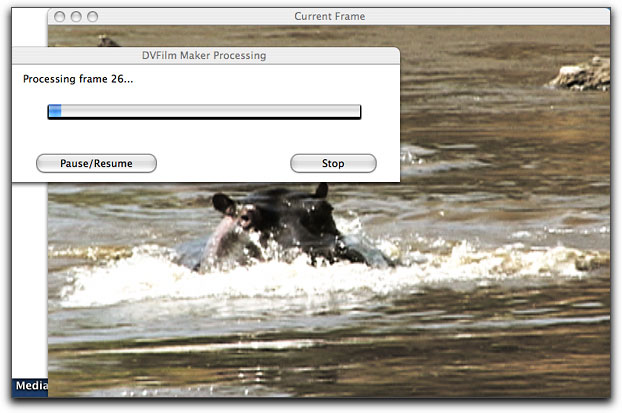
The processing shows a countdown of frames.
While this is occurring you may work within other applications at the same time without any problems.
The two clips below show a frame from the original QuickTime export shot in Kenya with a Sony DCR-VX2000. The frame below displays the results of DVFilm Maker after it had Red Boost, conversion to 24p and 16:9 letterboxing.
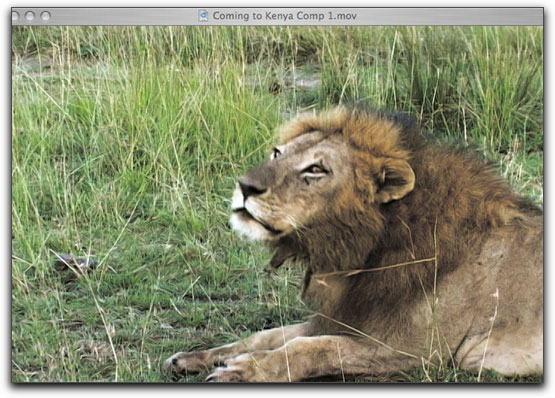
The original 4:3 clip
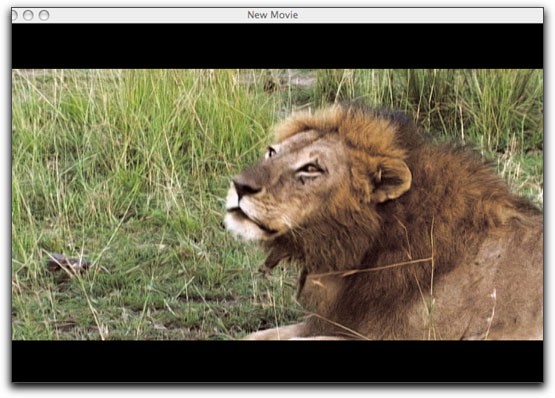
The added warmth and film look is very noticeable. A heck of an improvement!
While there are no tutorials to be found on the DV Film website there is an excellent online manual that is fairly easy to understand. The bottom line with DVFilm Maker is that this is one very easy and effective application to use. The results of the output are every bit the quality you were hoping for and I am glad that I have it in my arsenal. That's about as good a recommendation as one could hope for.
Steve Douglas is
an underwater videographer and contributor to numerous film festivals
around the world. A winner of the 1999 Pacific Coast Underwater
Film Competition, 2003 IVIE competition, 2004 Los Angeles Underwater
Photographic competition, and the prestigious 2005 International
Beneath the Sea Film Competition, Steve has also worked on the
feature film "The Deep Blue Sea", contributed footage
to the Seaworld parks for their Atlantis production, and is one
of the principal organizers of the San Diego UnderSea Film Exhibition.
Steve leads both underwater filming expeditions and African safaris
with upcoming filming excursions to Kenya, Bali & Komodo,
the Philippines, and the Red Sea. Feel free to contact him if
you are interested in joining Steve on any of these trips. www.worldfilmsandtravel.com
copyright © Steve
Douglas 2006
This article first
appeared on www.kenstone.net and is reprinted here
with permission.
All screen captures and
textual references are the property and trademark of their creators/owners/publishers.