|
|
   
| Review: -Pixelmator 1.6.5 |
Febuary, 2011
 Pixelmator 1.6.5 Pixelmator 1.6.5
Pixelmator
$29.00. Available at the new Mac App Store.
System Requirements Mac OS X 10.6 or higher.
Download a 30 day demo
By Ken Stone
Having worked in Photoshop for over 17 years I must admit that I have been a bit oblivious to any of the other photo editing applications that have come along over the years. Recently I have been asked about lower cost photo editing apps, so I have been looking at some of the options that are now available.
Pixelmator is a relatively new application and, as such, it is not yet a full powered photo editing application like Photoshop, but it is much like Photoshop. It employs the same type of palettes, tools, adjustments and menus. Almost all of Pixlmator's keyboard shortcuts are the same as Photoshop's. So, if you have worked in Photoshop, there is very little to learn when using Pixelmator; you'll feel quite comfortable. If you start off using Pixelmator and then, at some point, graduate to Photoshop, the transition will require little effort on your part to learn the Photoshop workflow. Pixelmator is Photoshop-esque.
Pixelmator is fast using Core Image and Open GL support, and it's 64 bit meaning that you'll have access to all the ram that you need, assuming that you have enough in the first place. Pixelmator also offers unlimited undos. Images can be imported from cameras, scanners (USB), iPhones, card readers and from networks.
The Interface
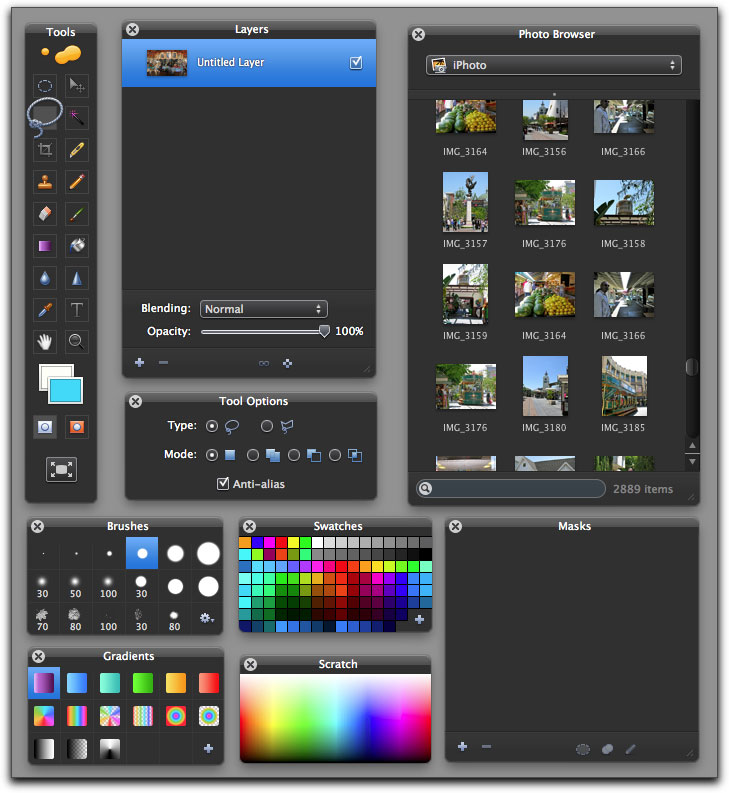
I was very pleased when I first launched Pixelmator by the simple appearance of the interface consisting of the Pixelmator menu bar across the top of my screen and a number of tool palettes. At first the offerings look sparse, but don't let the clean interface fool you, Pixelmator is a very able and robust full featured photo editor.
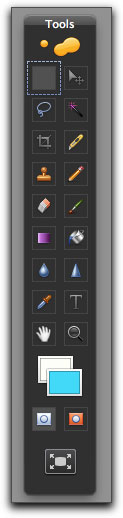
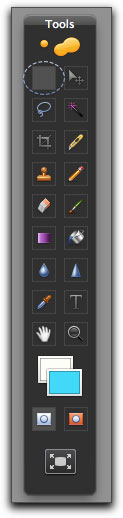
The first thing you'll notice are the Pixelmator icons and tools, gone are the 'plain vanilla' artwork found in other photo apps, replaced by colorful and distinct icons. As you can see from the screen shots of the Tool palette below, the icons are handsome and when a tool is selected, its icon becomes enlarged making it easy to tell, in just a glance, which tool is selected. I found this feature to be very helpful when moving quickly
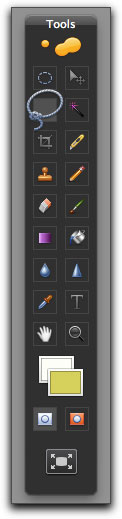

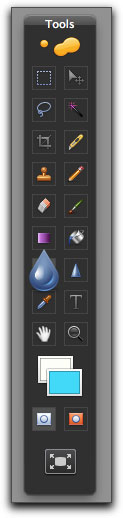
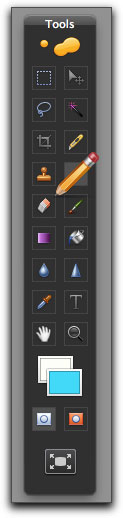

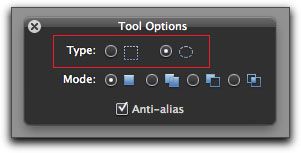
You will also notice that unlike some other photo editors, in Pixelmator, no tools are buried beneath other tools. The other tools are there and Pixelmator offers two ways to switch between them. Looking at the 'Marquee' tool, as an example, if the 'Rectangular Marquee tool is selected, as shown below left, hitting the 'm' key on the keyboard will toggle the tool between Rectangular and Elliptical. But in addition to this, Pixelmators provides us with a 'Tools Options' palette (below right). The Tool Options palette is one feature I really like, as it stays on the screen not unlike a 'HUD' (heads up display) or the Inspector found in other applications. The Tool Options palette is contextually aware, in that it changes its settings to reflect whatever tool is selected in the Tool palette and offers you the parameters that are available for that tool. As shown below right, red box, 'Type', you can toggle between the Rectangular and Elliptical tool.
Selection tools
Critical to a photo editing application are its 'Selection' tools and Pixelmator has the full set; Rectangular, Marquee, Elliptical Marquee, Lasso, Polygonal Lasso and Magic Wand, which are all found in the Tool palette. There is an additional selection tool, Select Color found in the Edit menu. You can click on the color swatch (red box) which will open up the Mac color palette, however, when we use Select Color, most often we want to sample a color from inside a photo. With the Select Color palette open, move your cursor into the photo where it will turn into an eyedropper. Click on the color you want to sample and it will be selected.
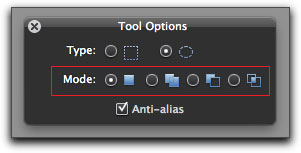
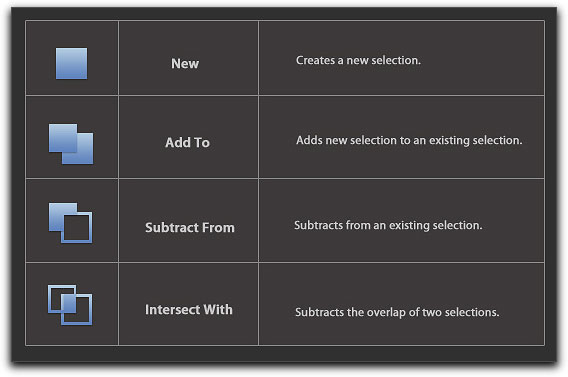
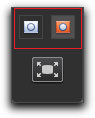
When any selection tools is selected in the Tool Palette, the Tool Options palette offers four different ways to modify your selection. The first mode on the left is a single square, which is used to make a new selection. The second one shows two solid colored boxes overlapping. This is for adding to an existing selection. The next one, with overlapping boxes, one with color the other box empty is for subtracting from an existing selection. The last mode subtracts the overlap of two selections. These four modes are available for all of Pixelmator's selection tools. It is very convenient having access to these modes right from the Tool Options Palette.
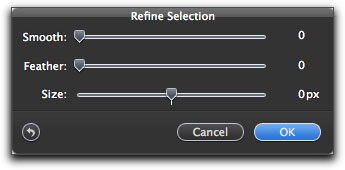
When working with a selection, you can refine the selection further. From the Edit menu > Refine Selection. The Refine Selection palette is shown below right.

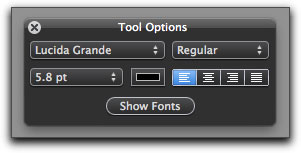
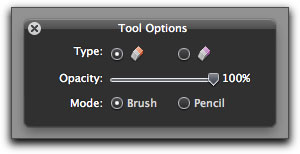
When the Text tool is selected, the Tool Options palette offers the standard settings needed for working with the Text, below left. I understand that Pixelmator is a work in progress so I would suggest that the Text tool be updated to provided 'kerning' (the amount of space between each letter) and 'leading' (the amount space between each line of type). These are important adjustments when creating Titles. The Tool Options for the Eraser tool shown below right.
Palettes
I have grouped most (but not all) of Pixelmator's palettes. Notice that one of the palettes is a 'Photo Browser' which connects up to the Photo folder in the Users section of the hard drive. Aside from other photos, iPhoto is available. If you have Aperture installed, it will show up as well. When you find a photo that you want to work with, double click on it in the Photo Browser and it will open in Pixelmator. The Brush palette is very powerful, with the ability to modify and create new brushes and brush presets. The Brush palette stays open and is accessible at all times, there is tablet support and you can import Photoshop brush palettes into Pixelmator.
Brushes
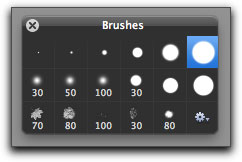
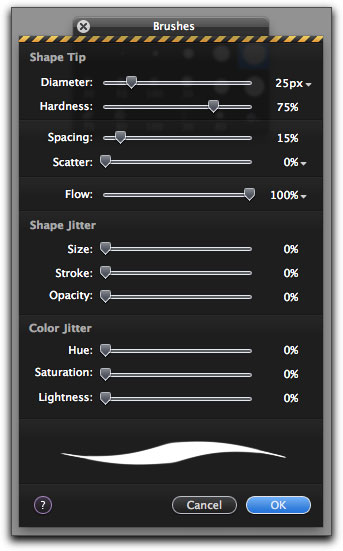
Pixelmator offers very comprehensive Brush abilities, you can edit brushes and save as presets and you can have any number of brush collections and switch between them as well as both import, export and share brush collections. I do wish that we could expand the Brush palette (below left) to display more brushes at any given time. To modify a brush or create a new brush preset, double click on any brush in the brush palette to open the Brushes window, below right.
The Menu Bar
The Pixelmator menu bar is shown below.

Each of Pixelmators 8 menus are shown below. All of the items are going to look very familiar to anyone who has some photo editing experience with other applications.
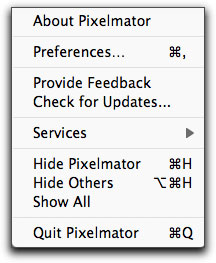
Pixelmator menu
|
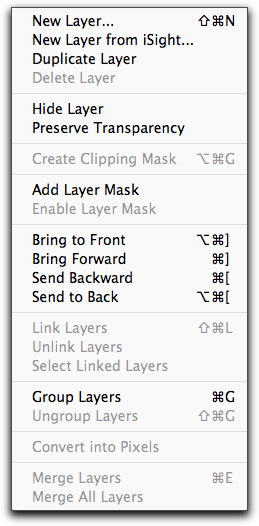
Layer menu
|
|
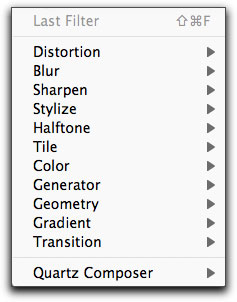
Filter menu
|
|
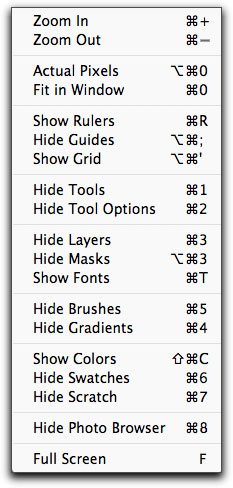
View menu
|
|
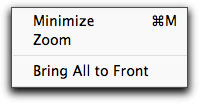
Window menu
|
Files and Formats
Pixelmator can open, work with and save a wide number of file formats (PSD, TIFF, JPEG, JPEG 2000, PDF, EPS, BMP, PICT, SAGI, TGA and many more) but more importantly it can open and save Photoshop layered files. It also has a 'Save for Web' feature, including 'Sliced Images'. Open a new file from the File Menu > New.
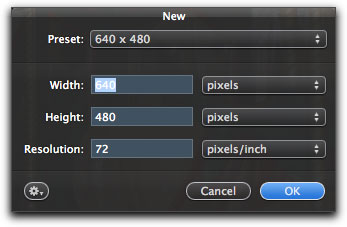
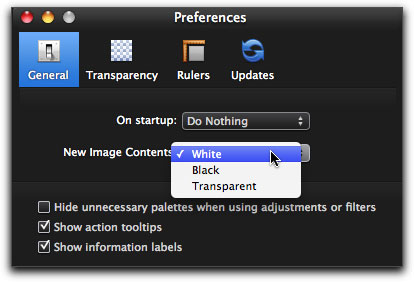
You'll notice in the screen shot above of the New file dialog box, something is missing, the ability to select the background of the new file as either; White, Black or Transparent. These options are still available but you'll have to visit the Pixelmators' Preferences to set the background of your choice. Great that these options are available, too bad they are not where they belong, in the New file dialog box.
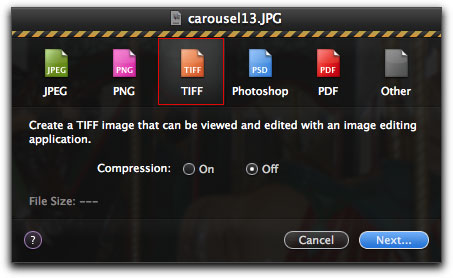
From the File menu > Export. There are a number of standard format options available and many more under the 'Other' option.

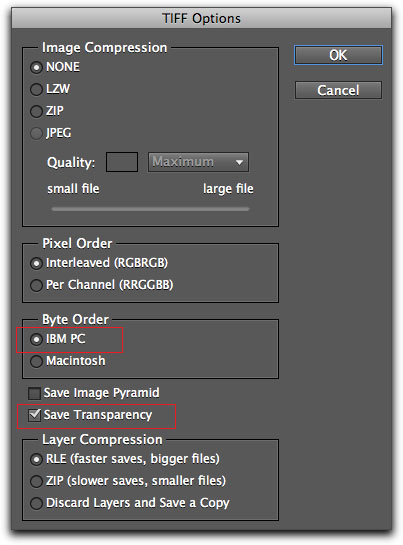
While Pixelmator does Export to TIFF (below left), the TIFF options are limited. When working with TIFFs I often need to save layers and/or with transparency (alpha channel) but I also do work that has to go to Windows machines, in which case I need to change the Byte order of the file as well. The 'TIFF Options' export from Photoshop is shown below right. (Call this a future request.)
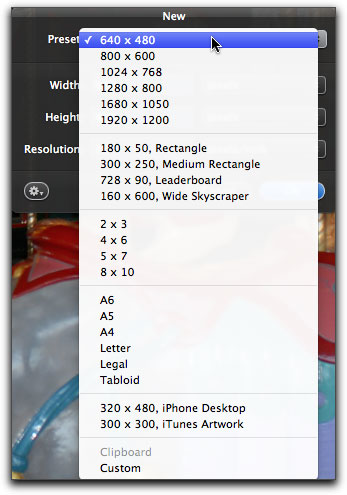
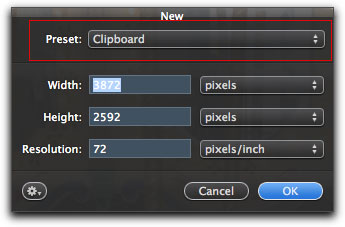
Often when working with an image I need to create and open a new image of the exact same size. With the first image open on the screen I select all and then copy. When I go to File > New, the dimension of the first file are set in the New dialog box having taken the measurements from the clipboard, excellent.
Adjustment palettes
There are several features that a photo editor must have and Layers is one of them, Pixelmator has a powerful and full featured Layers set. From the Layers menu > New Layer. The Layers palette is what one would expect from a professional photo editing application and even has complete Blending mode options.
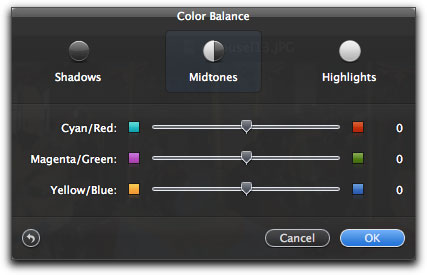
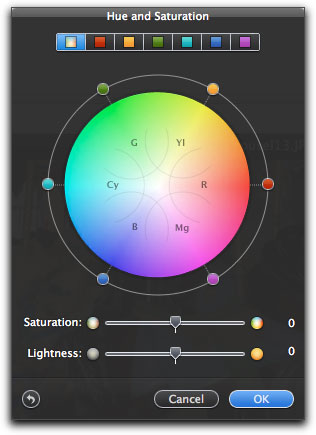
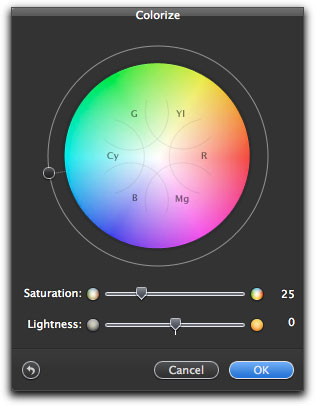
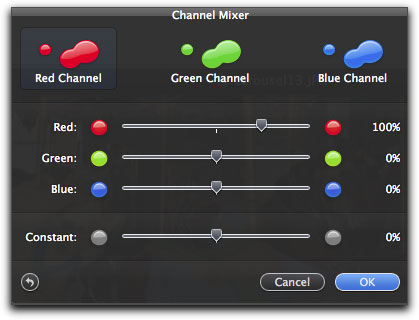
Pixelmator has a mature set of 15 different color correcting tools. A powerful and required tool in photo editing is Curves. Curves in Pixelmator allows for RGB adjustments as well as separate Red, Green and Blue channel adjustments. There is also a 'Color Management' palette, in the Advanced menu, housing a number of different color profiles.
Several more of the color correcting adjustment palettes are shown below.
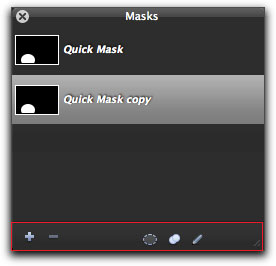
Pixelmator has good masking abilities. At the bottom of the Tool palette is 'Quick Mask', below left. The Mask palette, below center, shows the mask and at the bottom of this palette are the tools required to edit a mask; left side are + and - for adding and deleting a mask. To the right are three icons, the first is load selection, the second one is duplicate mask and on the far right is a pencil icon that is edit mask. You can edit a mask using any of the selection tools, drawing and painting tools, retouching tools or filters.
Filters
Pixelmator ships with 130 filters, all of the filters that you would expect to find in a professional photo editing application are there. Pixelmator's plug-in architecture supports third party
Core Image Units or Quartz Composer compositions as filters. Application of these filters is super fast, and they display in real time.
All of the usual suspects.
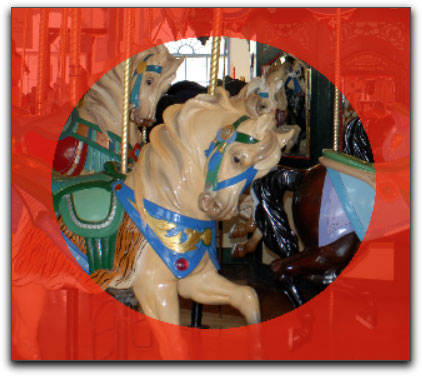
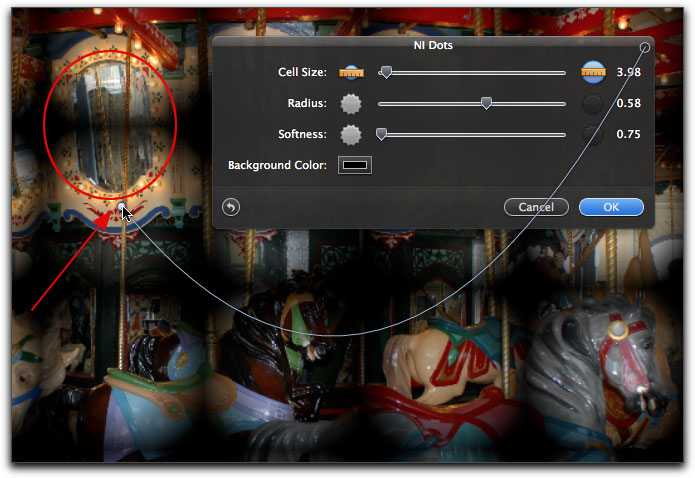
One feature of interest is that with some filters, Pixelmator employes a 'Rope' that runs from the filter palette to a small circle at the end of the 'Rope' call the end point. You can click on the end point and drag it to a different location to reposition the filter. As shown below, with the NI Dots filter applied, the Dots filter does not line up where I want it. (look inside the red circle)
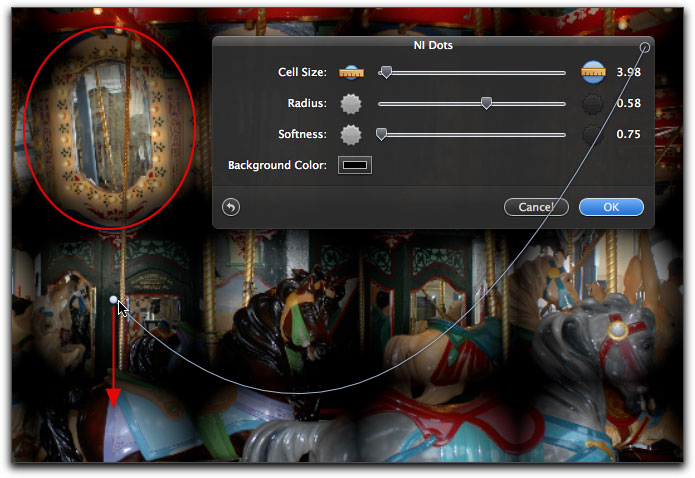
By clicking and dragging down on the end point, I can position the Dots filter to a better location.
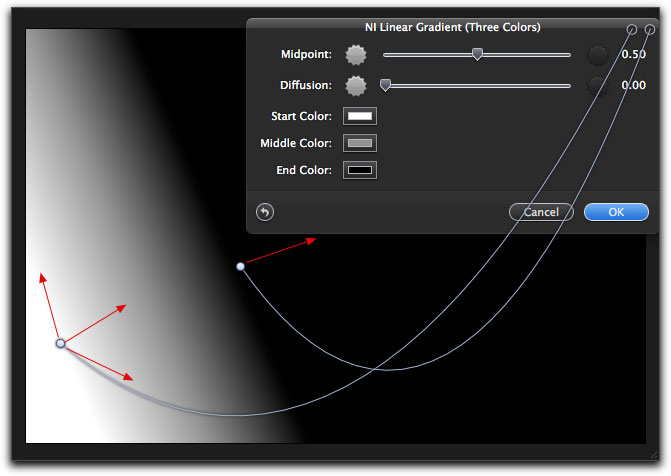
Shown below is the 'NI Linear Gradient filter. This filter has two 'Ropes' with two end points. Drag one end point to change the angle of the gradient, drag on the other end point to position the edge of the gradient.
Few Extras
Pixelmator is not an application that has a lot of extras, no clip art, colored backgrounds or pre-baked graphics. In fact, the only thing that Pixelmator offers aside from photo editing is 'Send To' found in the File menu. You can send to Mail, for emailing directly from Pixelmator, iPhoto, as well as several social web sites.
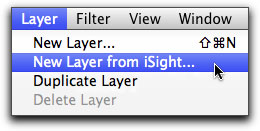
Interestingly, Pixelmator enables you to add a layer from a picture taken with your iSight camera, though I'm not sure why you would want to do this.
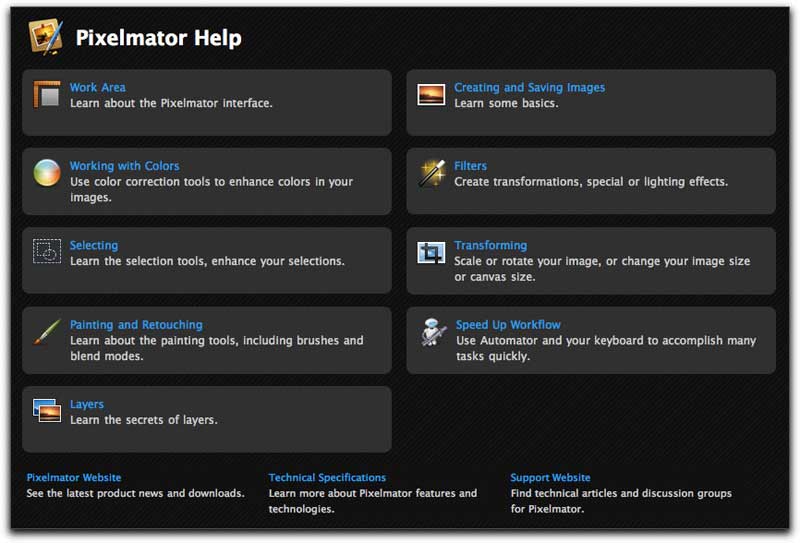
Pixelmator Help
Most applications have a 'Help' menu and most are rather lame, often telling you that you can do something but not telling you how to do it. The Pixelmator 'Help' is different and it's obvious that they put a lot of time and effort into making this is truly useful. There is also a 246 page PDF manual that you can download. There are Blogs, Forums and 'Learn Web' site with tutorials and videos to help you learn the application.
I have chosen 'Selecting' from 'Help' which brings up a number of 'Selecting' categories, below.
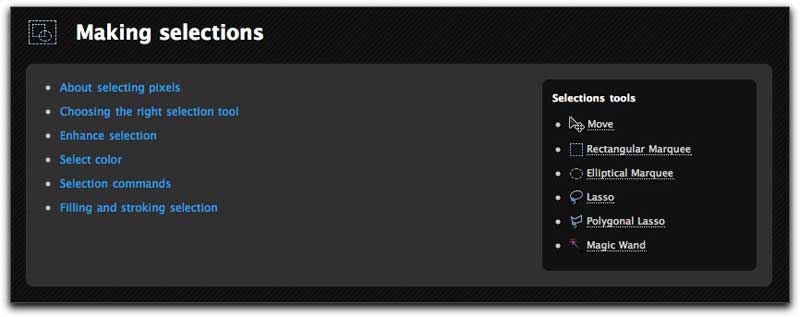
As you drill down in the Help manual you find instructions for the different tools.

You might find it strange that this review includes information about the Pixelmator Help and their PDF manual, it's just that so often application support is so poor that I want to point out that the people at Pixelmator have done an excellent job documenting Pixelmator.
Final Thoughts
Layers, selection, color correcting and masks are well implemented. This is a modern application using Core Image and Open GL support and it's 64 bit. It is fast. However, Pixelmator is a work in progress and there are some features that yet need to be added. There are no Paths tools, no CYMK printing support, healing or red eye brushes and, at this time, it is 8 bit. I also found the Text tool to need some additional features like 'kerning' and 'leading'.
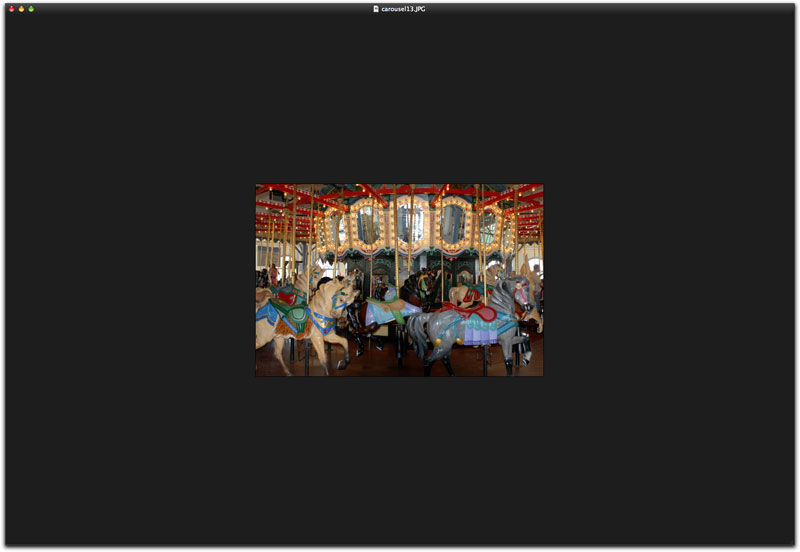
There is only one thing that I found very irksome. When you enlarge and then decrease the photo on screen (command + or -) the outer window (the window structure with title and scroll bars, does not adjust its size to match the size of the photo. So, when you decrease the size of the photo, the outer window remains at its starting size, filling the screen with dark gray. As shown below, I have reduced the size of the photo but it is now surrounded by dark gray. You need to click in the lower right hand corner of the window and drag to manually resize it.
While there is still a ways to go to equal the feature set of Photoshop, but most of it is already in place and this is a very able photo editing application. Everything about it, palettes, menu, tools and keyboard shortcuts are so similar to Photoshop that you can sit down and use Pixelmator with almost no learning curve, almost everything is where you expect it to be. This is one of Pixelmator's great strengths. If you are interested in checking out Pixelmator, there is a 30 day free trial. Give it a try I think that you'll be very impressed, I was.
Enjoy,
--ken
copyright © www.kenstone.net 2011
This article first appeared on www.kenstone.net and is reprinted here with permission.
All screen captures and textual references are the property and trademark of their creators/owners/publishers.
|