|
   
| Final Cut Pro X 10.1 Tips and Tricks 03 |
Jan, 2014
Final Cut Pro X 10.1 Tips and Tricks 03
By Richard Taylor
03-01) "Fit to Fill" your Final Cut Pro X window layout to match your monitor's resolution.
Choose "Revert to Original Layout", under the Window menu.
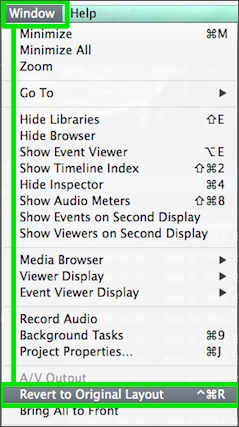
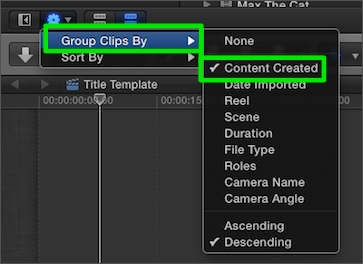
Unfortunately this command also resets "Group Clips By" to "Content Created". I always reset mine to "None".
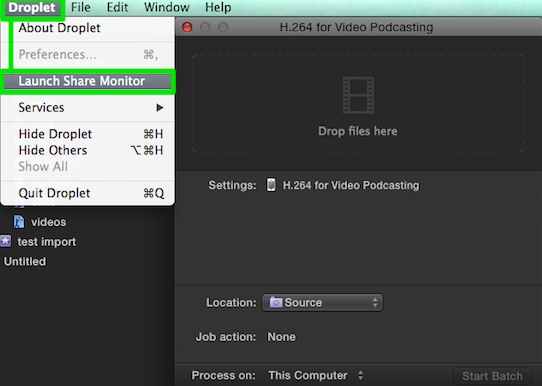
03-02) Where is the Share Monitor?
Compressor 4.1 has buried the Share Monitor app.

Fortunately the Droplet app has a way to open it. Make a droplet in Compressor and double click the droplet to open the app. Under the Droplet menu choose "Launch Share Monitor". The Share Monitor is also available under Motion 5.1's Share menu. I couldn't find it in Compressor.
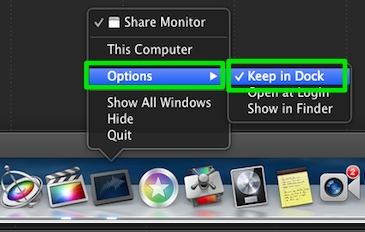
Once you open the Share Monitor, keep it in your dock for easy launching.
Click-hold on the Share Monitor dock icon and from the popup menu check Options > Keep in Dock
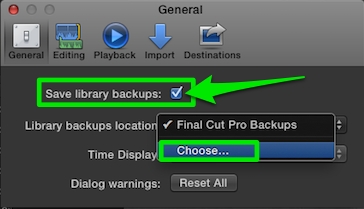
03-03) Save library backups to any hard drive or network location.
FCPX makes automatic backups every 15 minutes. By default, these are saved in your Movies folder. To change the location, open FCPX's preferences with Command - comma and under the General tab check "Save library backups". From the Library backup locations drop down menu select "Choose..." and navigate to your location of choice. You can even use Dropbox.
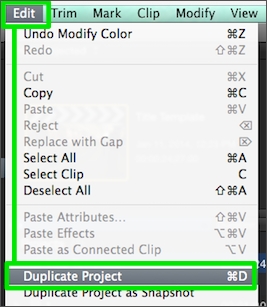
03-04) Project versioning.
Save different versions of your project timelines as you work on them. For example, if you want to try a different edit and want to keep the original as well, select the project and from the Edit menu choose "Duplicate Project" or use the keyboard shortcut Command - D. Rename the duplicate to something meaningful.
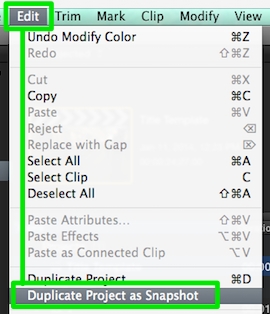
03-05) Use "Duplicate Projects as Snapshots" if your project contains Multicam or Compound Clips.
This will break the connection to the original Multicam or Compound Clip so if either are edited, the changes won't ripple back to this frozen-in-time snapshot.
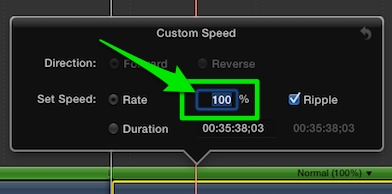
03-06) Change the speed of a Speed segment numerically.
In the timeline, select a clip to retime and choose "Custom..." from the Retime drop down menu.
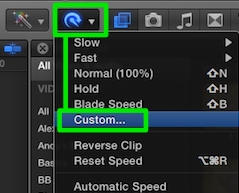
Or double click a Timeline clip's Retime Editor bar to bring up the Custom Speed dialog box where you can enter your speed percentage numerically.
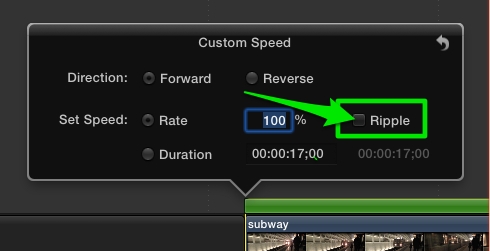
03-07) Retime a timeline clip without rippling the timeline.
In the timeline, select a clip to retime and choose "Custom..." from the Retime drop down menu. Uncheck "Ripple" from the "Custom Speed" dialog pop up. When you retime the clip, its duration will remain constant.
03-08) Change the end frame of a Timeline speed segment.
In the Retime editor, double click a transition between two speed segments in the Timeline. Click the Edit button in the Speed transition window.
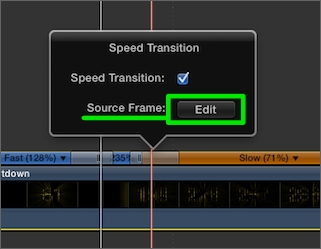
Drag the filmstrip icon left or right to change the end frame of the speed segment.

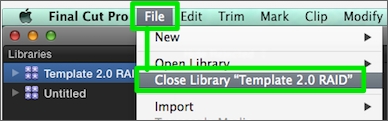
03-09) You can eject drives, with Final Cut Pro X open, after the libraries on those drives are closed.
Close a Library by selecting it and choosing File > Close Library
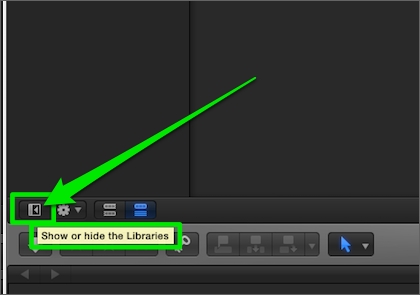
03-10) To gain more screen real estate, hide the Libraries list.
by clicking on the "Show or hide the Libraries" icon above the left side of the Timeline.
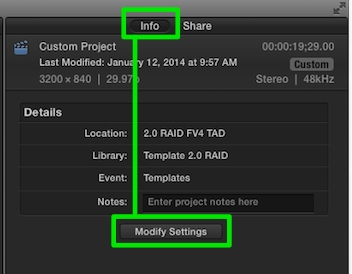
03-11) Custom frame sizes are now available when setting up a Project Timeline or Compound Clip Timeline. In the Browser, select a Project or Compound Clip. In the Inspector's Info tab, select Modify Settings.
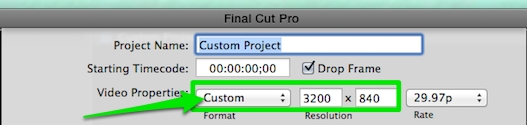
Choose "Custom" from the Video Properties menu and enter your custom frame size in the Resolution windows.
Richard Taylor is an Editor/Producer and a Level 2 Apple Certified Trainer for Final Cut Pro X from the Washington DC/Baltimore Maryland area. He can be reached via his Final Cut Pro X website FCPX.TV or on Twitter @RichardTaylorTV
Copyright © 2014 Richard Taylor. All rights reserved.
Apple and Final Cut Pro X are registered trademarks of Apple Inc
|